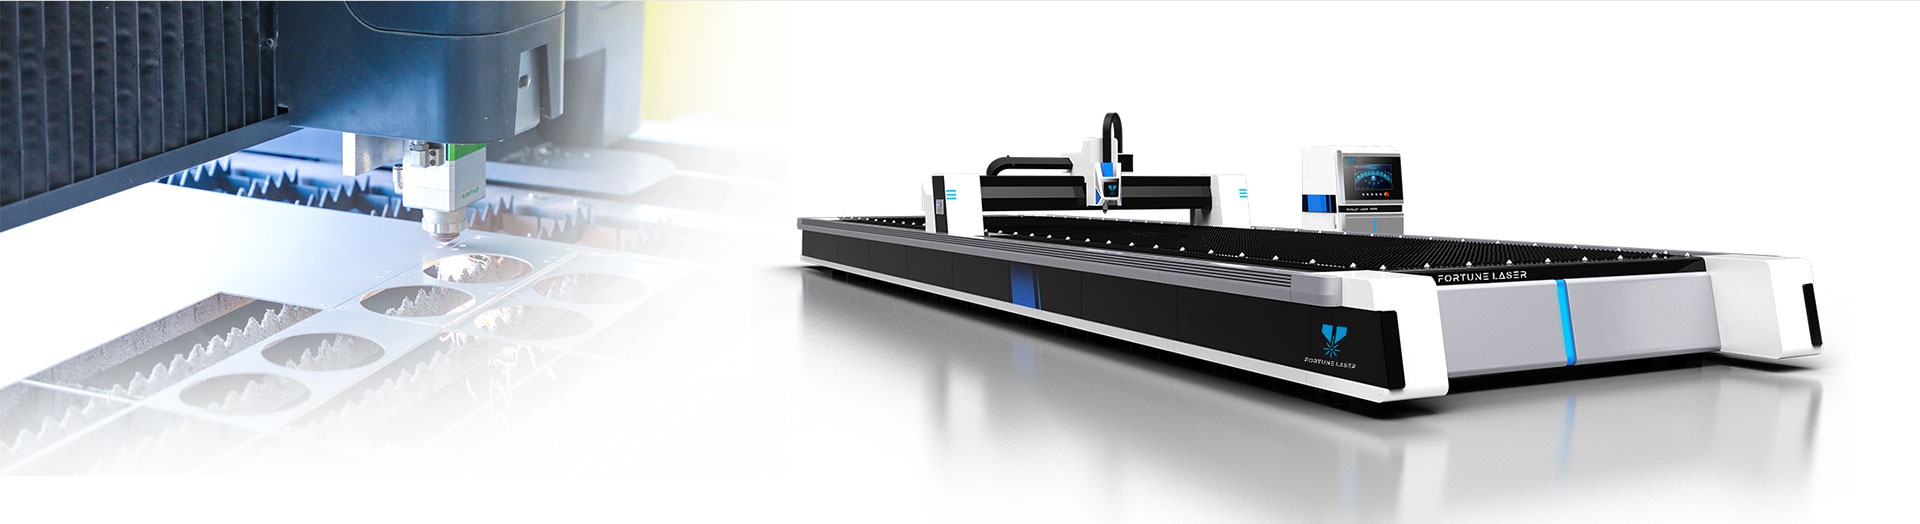


When your laser welder goes down, production grinds to a halt. A project deadline that seemed manageable is suddenly at risk, and the prospect of an expensive, time-consuming service call looms large. But what if the solution was already in your hands?
More than 80% of common laser welding faults can be diagnosed and resolved in-house with a systematic approach. This comprehensive guide moves beyond the basics to provide a detailed, step-by-step checklist for troubleshooting everything from a dead machine to subtle weld defects. Master these steps to minimize downtime, reduce costs, and become the first line of defense for your equipment.
Level 1: Machine is Unresponsive or Fails to Start
This is the most fundamental problem: the machine shows no signs of life or refuses to enter a “ready” state. Before diving into complex diagnostics, always start with the power and safety pathway.
Symptoms:
1.The control screen is black.
2.No indicator lights are on.
3.No fans or pumps are audible.
4.The system boots up but immediately shows a “Not Ready” or “Interlock” error.
A Systematic Troubleshooting Checklist:
1.Verify Main Power Path
Wall Outlet & Plug: Is the main power cord firmly seated in both the machine and the wall socket?
Main Breaker Panel: Has the circuit breaker dedicated to the laser welder been tripped? If so, reset it once. If it trips again immediately, do not reset it again; there may be a short circuit that requires a professional electrician.
Machine’s Main Breaker: Most industrial machines have their own main power switch or circuit breaker. Ensure it is in the “ON” position.
2.Check Emergency Stops and Fuses
Emergency Stop Button: This is a common culprit. Has an emergency stop button on the machine, control panel, or safety perimeter been pressed? They are designed to be conspicuous (usually large and red).
Internal Fuses: Consult your machine’s user manual to locate the main control fuses. Visually inspect the fuse element. If it’s broken or appears burnt, replace it with a fuse of the exact same amperage and type. Using an incorrect fuse is a serious fire hazard.
Perform a Full System Reboot: Software glitches can freeze a machine. A proper reboot can clear temporary memory faults. First, turn off the main power switch on the machine. Wait a full 60-90 seconds. This is critical as it allows internal capacitors to fully discharge, ensuring a complete reset of all control boards. Then turn the machine back on.
Inspect Safety Interlocks: Modern laser welders have numerous safety interlocks that will prevent the laser from firing—and sometimes prevent the machine from starting—if they are not engaged.
Door Switches: Are all access panels and doors to the machine housing securely closed?
Chiller & Gas Connections: Some machines have interlocks that check for proper connection and pressure from the water chiller and shielding gas supply.
External Safety Systems: If your machine is in a robotic cell, check light curtains, safety mats, and cell door interlocks.
Level 2: Decoding Common Laser Welding Defects
If the machine has power but weld quality is unacceptable, the problem lies within the process. We will address defects by identifying their visual cues and tracing them back to their root causes.
Problem 1: Weak, Shallow, or Inconsistent Welds
Visual Cues: The weld bead is too narrow, doesn’t penetrate the full depth of the material, or varies in width and depth along the seam.
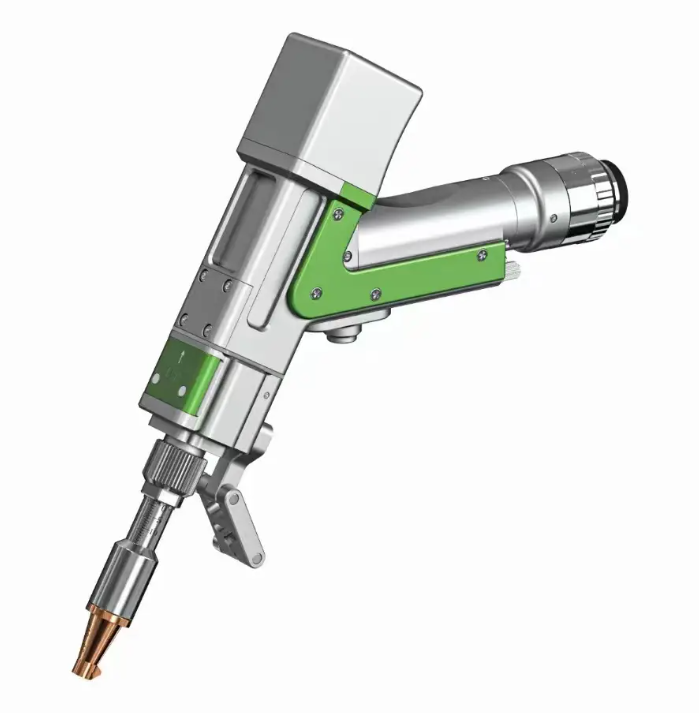
1.The Lens is Dirty or Damaged
The protective lens in your laser is like the glass on a camera—smudges, dust, or damage will ruin the result.
The Matter: Haze, spatter, or tiny cracks on the protective lens block and scatter the laser beam before it even reaches your material.
The Solution: 1.Carefully remove the protective lens.
2.Hold it up to a light to check if it’s perfectly clear.
3.Clean it only with approved lens wipes and 99%+ isopropyl alcohol.
4.If it’s still not crystal clear after cleaning, replace it.
Why it’s crucial: A dirty or damaged lens can overheat and crack, destroying the much more expensive main focusing lens inside the machine.
2.The Focus is Wrong
The laser’s power is concentrated into a tiny point. If that point isn’t aimed correctly at your material, the energy spreads out and becomes weak.
The Matter: The distance between the laser nozzle and the material surface is incorrect, making the beam blurry and ineffective.
The Solution: Check your machine’s manual to find the correct way to set the focus. You may need to do a “burn test” on a scrap piece to find the sharpest, most powerful point.
3.The Power Setting is Too Low
Sometimes, the solution is as simple as turning up the power.
The Matter: The laser’s power setting isn’t high enough for the type and thickness of the metal you are welding.
The Solution: On a test piece, increase the power in small steps (like 5% at a time) until you get the deep weld you need. Remember, more power might mean you also need to adjust your speed.
4.The Travel Speed is Too Fast
The laser needs a certain amount of time to dump its energy into the metal to melt it.
The Matter: The laser head is moving across the material so quickly that the beam doesn’t have enough time in any single spot to create a proper weld.
The Solution: Slow down the travel speed. This gives the laser more time to deliver energy, resulting in a deeper and stronger weld.
Problem 2: Porosity (Pinholes or Gas Bubbles) in the Weld
Visual Cues: The finished weld seam contains small, spherical holes or pits, either on the surface or visible in a cross-section. This severely weakens the joint.
1.Inadequate Shielding Gas
The shielding gas (usually Argon or Nitrogen) forms a protective bubble over the molten metal, keeping air out. If this bubble fails, air contaminates the weld, causing porosity.
The Matter: The flow of shielding gas is too low, has been interrupted, or is leaking before it reaches the weld.
The Solution:
Check the Tank: Make sure the cylinder valve is fully open and the tank isn’t empty.
Check the Regulator: Ensure the pressure is adequate and the flow rate is set correctly for your job.
Hunt for Leaks: With the gas flowing, listen for any hissing sounds along the hose and at connections. You can spray soapy water on the fittings; if it bubbles, you have a leak.
2.Contaminated or Damaged Nozzle
The nozzle’s job is to direct the shielding gas into a smooth, steady stream over the weld area.
The Matter: Spatter or debris inside the nozzle can block the gas, while a bent or deformed tip will make the flow turbulent and ineffective.
The Solution: Remove the nozzle and inspect it. Clean out any spatter from the inside. If the opening is misshapen or oval instead of perfectly round, replace it immediately. Also, ensure you’re maintaining the correct distance between the nozzle and the workpiece.
3.Workpiece Contamination
Any dirt, oil, rust, or moisture on the metal surface will instantly vaporize from the laser’s intense heat, creating gas that gets trapped in the weld.
The Matter: The surface of the material being welded is not perfectly clean.
The Solution: 1.Thoroughly clean the joint surfaces right before welding.
2.Use a solvent like acetone to remove all grease and oil.
3.Use a wire brush to scrub off any rust, scale, or coatings.
4.Finally, make sure the material is completely dry.
Level 3: The Comprehensive Maintenance Schedule
The most effective troubleshooting is preventing faults from occurring in the first place. A disciplined maintenance routine is cheaper than any repair and takes less time than any period of downtime.
Daily Checks (5 Minutes)
Optics Check: Inspect the protective lens for spatter and cleanliness. Clean if necessary.
Gas Check: Glance at the gas cylinder and regulator pressure to ensure sufficient supply for the day’s work.
Nozzle Inspection: Check the nozzle tip for spatter buildup that could disrupt gas flow.
General Area: Ensure the work area around the machine is clean and free of clutter.
Weekly Checks (15-20 Minutes)
Chiller Status: Check the water level in the chiller reservoir. Ensure the water temperature is within the recommended range. The water should be clear; if it appears cloudy or has algae growth, schedule a water change.
Air Filter Cleaning: The laser cabinet and the water chiller both have air filters to keep dust out of critical components. Remove them and clean them with compressed air. Clogged filters lead to overheating.
Visual Inspection: Walk around the machine and visually inspect all cables and hoses for kinks, abrasion, or signs of wear.
Monthly Checks (30-45 Minutes)
Internal Optics Inspection: Following the manufacturer’s procedure, carefully remove and inspect the focusing lens (and collimating lens, if accessible). Clean them with the proper technique and materials.
Chiller Water Quality: Use conductivity test strips to check the quality of the distilled water in the chiller. If the conductivity is too high, it means the water is contaminated with ions that can cause corrosion and damage the laser source. Change the water and internal filter if necessary.
Check Safety Functions: Purposely test an emergency stop button and a door interlock (while the machine is in a safe state) to ensure they are functioning correctly.
When to Call a Professional Service Technician
This guide empowers you to solve many problems, but it’s crucial to know your limits for safety and to prevent further damage. Contact a certified technician if:
1.You have run through this entire checklist and the problem persists.
2.The machine repeatedly trips a circuit breaker, indicating a potential electrical short.
3.You receive error codes that are not explained in the user manual.
4.You suspect damage to the fiber optic cable or the internal laser source.
5.The issue requires opening sealed electrical cabinets or the laser source housing.
Conclusion: From Operator to First Responder
Mastering your laser welder is a journey from reactive panic to proactive problem-solving. This checklist is your roadmap. By approaching each issue systematically, from the power cord to the gas nozzle, and embracing a routine of diligent maintenance, you are no longer at the mercy of your machine. You become its partner.
This guide empowers you to be the first line of defense—the expert on the floor who can diagnose faults, ensure consistent quality, and turn potential downtime into a minor pause. This expertise not only saves critical time and money but builds the confidence to keep your operations running safely and at peak performance. Use this knowledge well, and your laser welder will remain a reliable and productive asset for years to come.
Post time: Aug-28-2025